How to setup a GitHub pages blog
While there is a pretty good walk through of the GitHub Pages on https://github.io, it really focuses on how to setup GitHub to publish your site. I found that there was slightly more knowledge needed to get to get it all working how I wanted it on my windows development machine. While i was going through this process I should have been taking notes and screenshots, but I didn’t. I normally don’t arrive at a perfect destination in one go so its hard to make that work. Anyway, this is pretty much what I did to get to the end state of a working blog.
Setting up Github
First you need a Github account. If you don’t have one, go sign-up. I caution you though that your github account name will be the thing people see when they find you on github and also it will be in the URL for your blog, so choose wisely. Going to the website without an account will mean you get a sign up form on the front screen. Thats where you enter your email, password, and username. Your profile will be at https://www.github.com/YOUR_USERNAME and your blog will be at https://YOUR_USERNAME.github.io
I’m not going to show a bunch of GitHub screen shots right now because I am not in control of when that flow will change. Its also hard for to me to capture that flow seeing as how I already have a github account and don’t want to create a new one.
Wait, what is Github?
I am not going to dive into a full breakdown of what Github is. If you don’t have any clue about version control and source code management, you should go read the wikipedia article on Revision Control.
If you do know what version control but you’re not sure about Git, you should read some about Git. It’s a version control system written by Linus Torvalds (the person that made Linux) and its pretty good. It’s a distributed system, which means it keeps a copy of everything on your machine, the whole history, and you can work that way entirely autonomously. However, it also has a way to synchronize two seperate Git repositories (databases of source code) between two seperate machines. This can be your machine and a server, or your machine and a friend, or your machine and a server and any number of friends machines all sharing this database. Thats what makes it so cool.
Github is a server for Git. It can act like a central repository for you and your team to sync source code to. It’s free for public repositories. Which means source code databases that anybody can read from. This is why its the main place open source software development happens. It can be a problem for companies hosting their source code on, but I quite like open by default kind of culture.
Creating your Repo
Github makes it pretty simple to create a Repository - you simply hit the green button:

Once you hit that button, you have to type in the details of the repository:
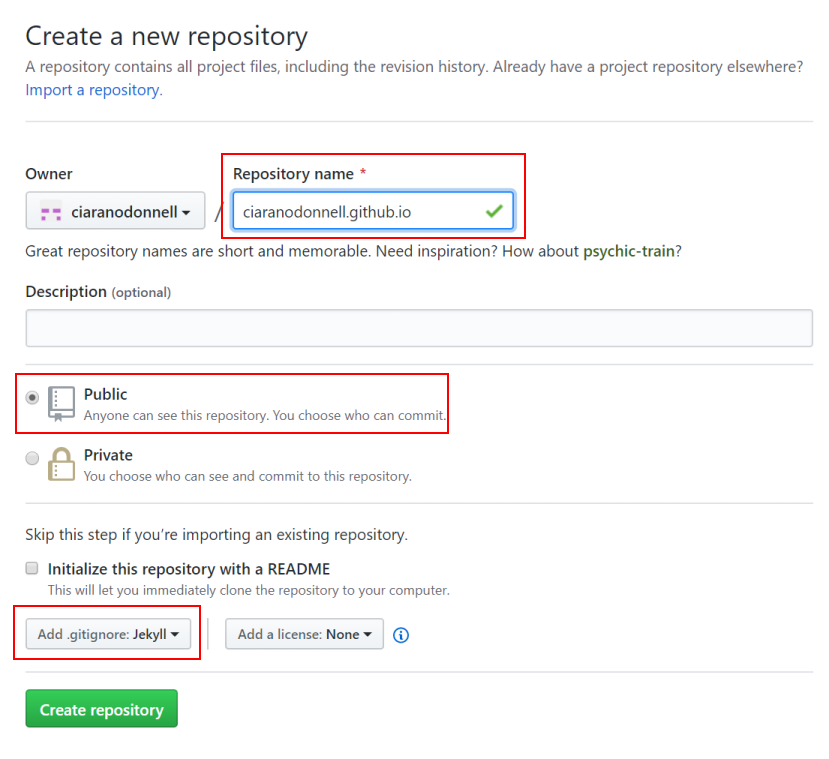
There are three important things to fill in on this page.
- Repository Name: You need to have this be your YOURUSERNAME.github.io
- Visibility: For the free github pages it will need to be a public repository
- gitignore: This isn’t essential but can save headaches, you should pick Jekyll from the gitignore list. This will add a file to your repository called .gitignore which lets Git know what files should NOT be committed to the repository. These are often temp files made by Jekyll.
- Description: You can also add a Description here for the Repo. Its not that important, mine simple says ‘Github Blog’
Cloning your new Repo
Once you create the repository you need to clone it to your local machine. In order for this to work you need to have Git installed on your machine. If you dont have it, go get it from https://git-scm.com/. Install the latest one for your platform.
After you have Git, I also recommend getting Github Desktop. It’s a graphical tool that works cross platform and prevents from having to remember all the basic git commands, and also all the advanced git commands you need when you realize you did a basic command wrong and want to undo it. This is available for free at https://desktop.github.com/
Once you have cool tools installed you are ready to clone the repo. This can be done a bunch of ways:
Through the command line:
cd %USERPROFILE%\source\github\YOUR_USERNAME
git clone git://github.com/YOUR_USERNAME/YOUR_USERNAME.github.io
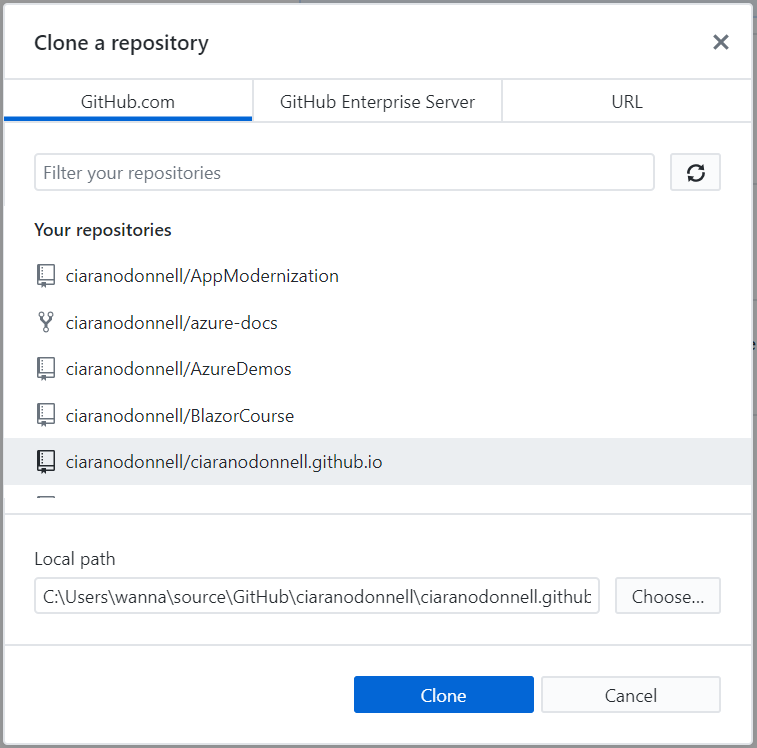
Through the Github website:
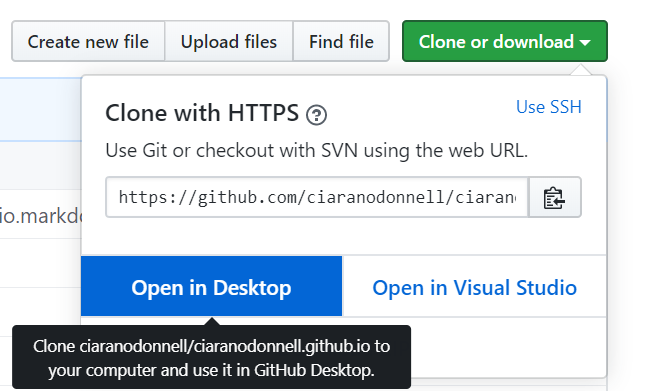
When you hit that open in desktop button in the UI it will launch the Github desktop and that will allow you
to clone the repo.
Once the repo is cloned you’ll have some options on the right of the github desktop window. One of which should be open the folder in your favorite editor. I have mine configured as Visual Studio Code. If you don’t have Visual Studio Code I would recommend it.

Creating the Site
Installing Jekyll
I personally found the Jekyll installation confusing when I tried to do it on my Windows development machine I followed the process to install Jekyll for Windows and although The documentation didn’t match up with the experience, it seemed to have worked However, once i got further down the road and was trying to install themes and plug ins for Jekyll it failed. They depended on different Jekyll versions that weren’t compatiable with version 4.0.0 and those other versions didn’t have windows builds available. It was quite confusing.
I decided that now would be as good as time as any to start using my WSL installation.
Just for reference, the official Jekyll documentation for installation on Ubuntu is here - https://jekyllrb.com/docs/installation/ubuntu/.
I have WSL installed, currently on a Windows Insider build but eventually that will be normal and I dont think it makes a difference anyway. I am using the Ubuntu distribution from the Windows store. Once you have enabled WSL on Windows you should be able to find it in the store and enable it like a normal app. The Microsoft documentation for that is here: Installation Instructions for WSL 2.
So once you have WSL installed and running, you need to get Jekyll installed. Jekyll runs on Ruby, so you need that installed first. Ruby uses the native C compilers so install Ruby you need to install those first.
We can issue a single command give it a list of things to install. So in the Unbuntu terminal type this command:
sudo apt-get install ruby-full build-essential zlib1g-dev
This is asking for the apt-get command to install ruby-full, build-essentials (which includes make and gcc), and zlib1g-dev (which i think it uses for unzipping libraries or something). It might ask you for your password in that box as you’re using the sudo (super user do) command.
Now you have Ruby installed, you need to configure where the Ruby plugins, called Gems, are installed. These commands will configure Ruby in your environment to install them in a User folder, not a system folder. (This means you wont need to be a super user to install or use them)
echo '# Install Ruby Gems to ~/gems' >> ~/.bashrc
echo 'export GEM_HOME="$HOME/gems"' >> ~/.bashrc
echo 'export PATH="$HOME/gems/bin:$PATH"' >> ~/.bashrc
source ~/.bashrc
Once that is configured you are ready to install Gems. Jekyll is a Gem. So issuing this command will install it:
gem install jekyll bundler
Creating a Site with Jekyll
So now we have Jekyll installed and a Repository in which we can build our site, we should build our site.
In Ubuntu/bash you should issue this command to make a new site:
jekyll new .
That might also ask for your password in order to install bundles. Once its complete though you will have a template website in the folder.
You can check this by asking git if it sees all the files.
git status
This should give you output like:

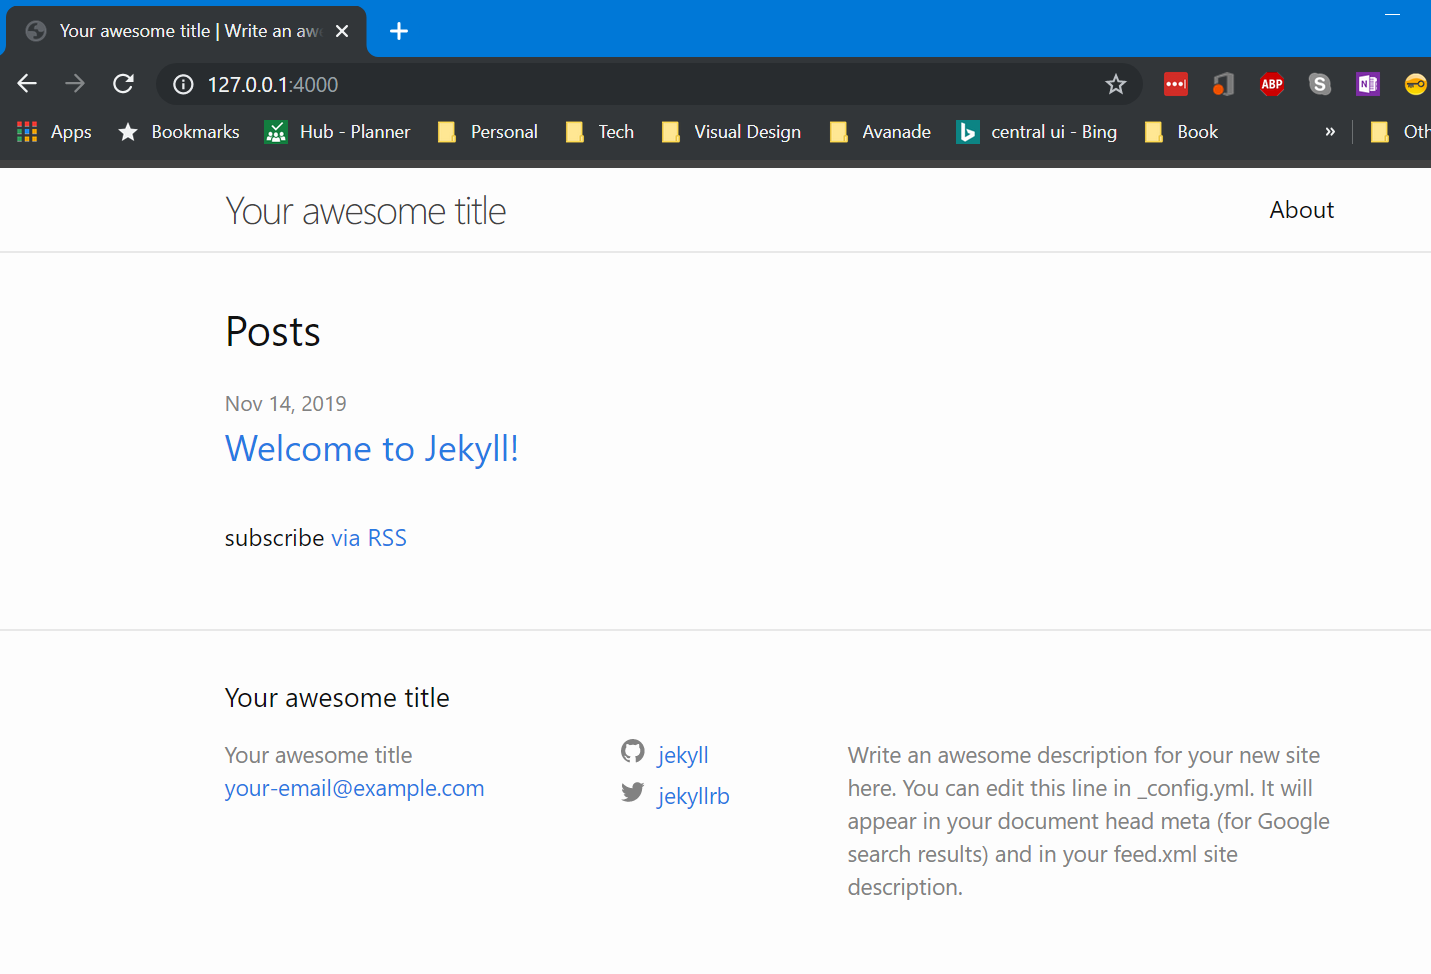
If that shows the correct output you can now test it with the local web server built into jekyll. Run this:
bundle exec jekyll serve
That runs a webserver that publishes the template site on port 4000. Once thats running you should be able to open a browser and go to http://127.0.0.1:4000 to view the template site.
Publishing to Github Pages
Now that you have the site on your machine and it’s running, you can publish it to github and make sure it’s publicly visible. Running the Guthub Desktop client should should you that you have files that need committing.
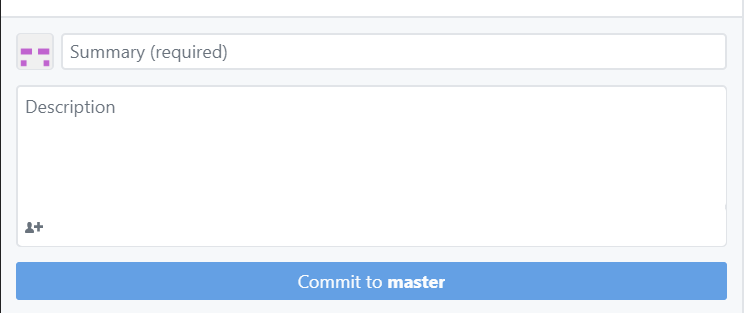
You need to enter a commit message and commit the changes to Git. That will save them to your local copy of the Git repository.
However, as we talked about earlier, Git is a distributed system and Github is our server copy. So we need to ‘push’ our changes from our local repository to Github. Luckily the Github Desktop app makes that a click of a button, so click it.

It will push the changes to Github and within about 20 seconds (although the SLA is longer) you shoud be able to see your sample site on YOUR_USERNAME.github.io
Editing the Site
That’s the end of this post. The next will focus on how to edit the site, apply themes, add posts etc.
Comments